Visit Simplero to get the HTML code add this code, directly into your PopupAlly settings in WordPress.
Before you begin make sure that you have checked the Fields screen and added all possible fields you want on your form.
1. Select Lists & Contacts from your Simplero Dashboard
2. Select the Lists tab
3. Select the list you want to create the opt-in for
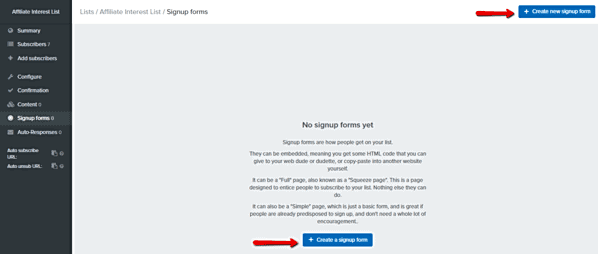
4. Select the Signup forms tab
5. Click the blue +Create a signup form button in the middle or in the upper right corner of the page
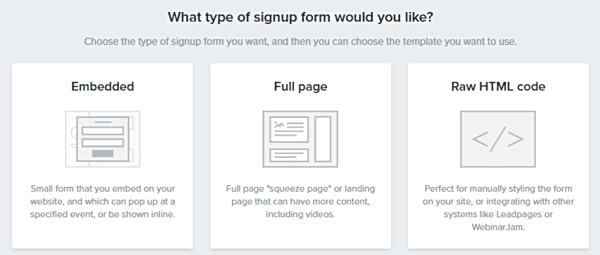
6. Choose the type of signup form you want: Embedded, Full page or Raw HTML code. (You’ll want to choose the Raw HTML code option.)
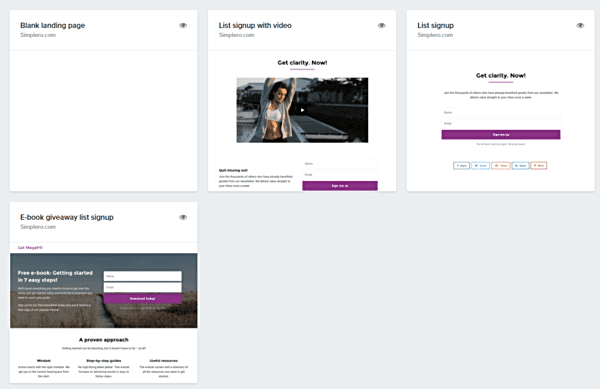
7. Once you’ve selected the type of signup form, choose your template (e.g. Full page)
8. Once you selected your template, you will be taken to the screen where you can edit the Content and Settings of your signup form
9. In the Settings tab, complete all boxes (Name, Page active options, etc.)

10. Select the Contents tab, click the blue Launch Editor button

11. The editor interface screen will open where you can select the form fields you want on your opt-in for the participant to complete
12. Select the List signup form tab
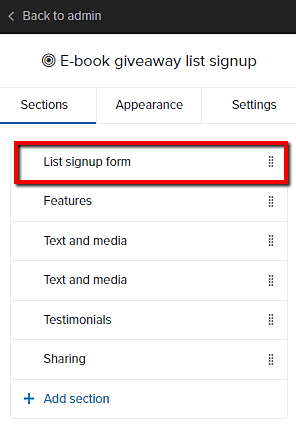
13. Scroll down to the Form section and select the fields you want from the Fields area (These are all the fields you’ve added in the Fields screen from the Lists & Contacts)
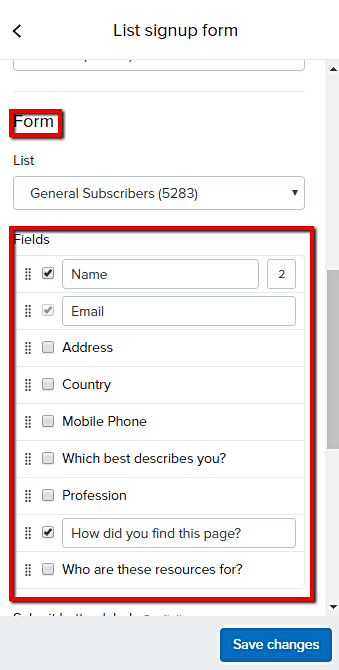
14. Click the blue Save changes button
15. Copy the code provided to you upon saving and paste it where you want your form

The raw html code is all you need to integrate Simplero with PopupAlly.
Add HTML Code to PopupAlly
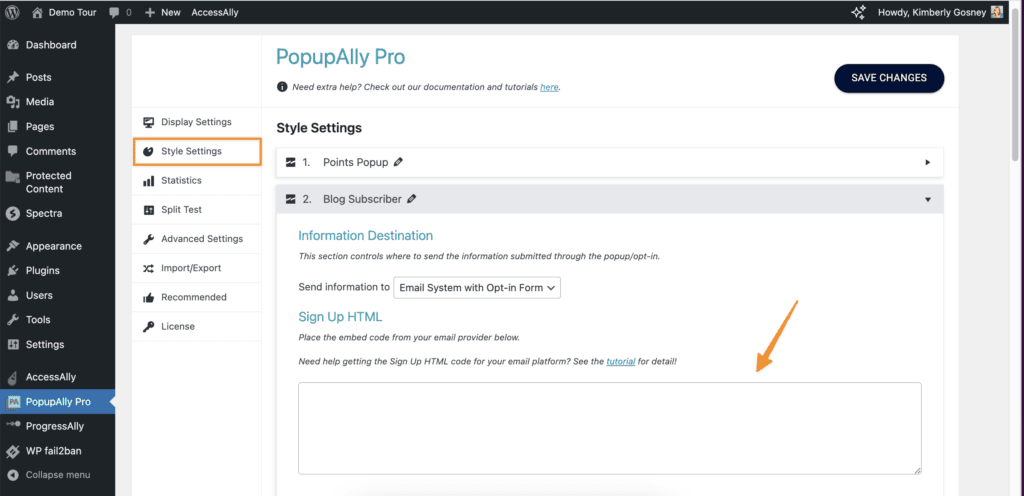
Go to PopupAlly > Style Settings, open your desired popup. In “Send information to” dropdown select Email System with Opt-in Form.
Paste your HTML code in the “Sign Up HTML” section.
Resource
Visit Simplero documentation (opens in new tab) for assistance.