PopupAlly + Flodesk work great together! This short tutorial will walk you through how to get the HTML opt in code from ActiveCampaign for your website opt-in.
Then, add this code, directly into your PopupAlly settings in WordPress.
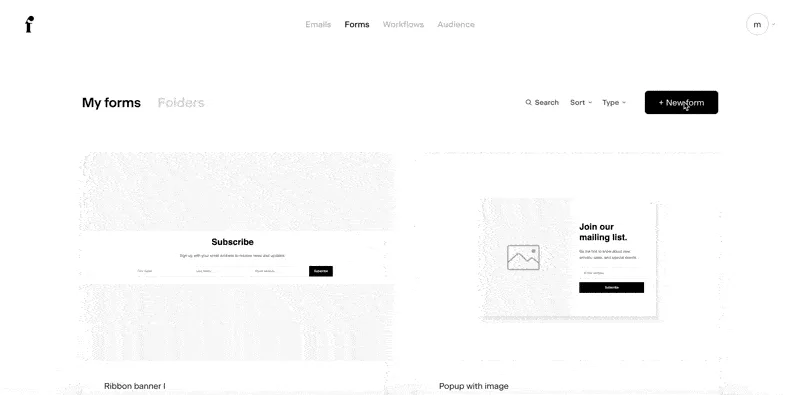
1. Create a new Inline Form
In the Forms area, create a new form. Select the Inline style.
2. Choose Segment
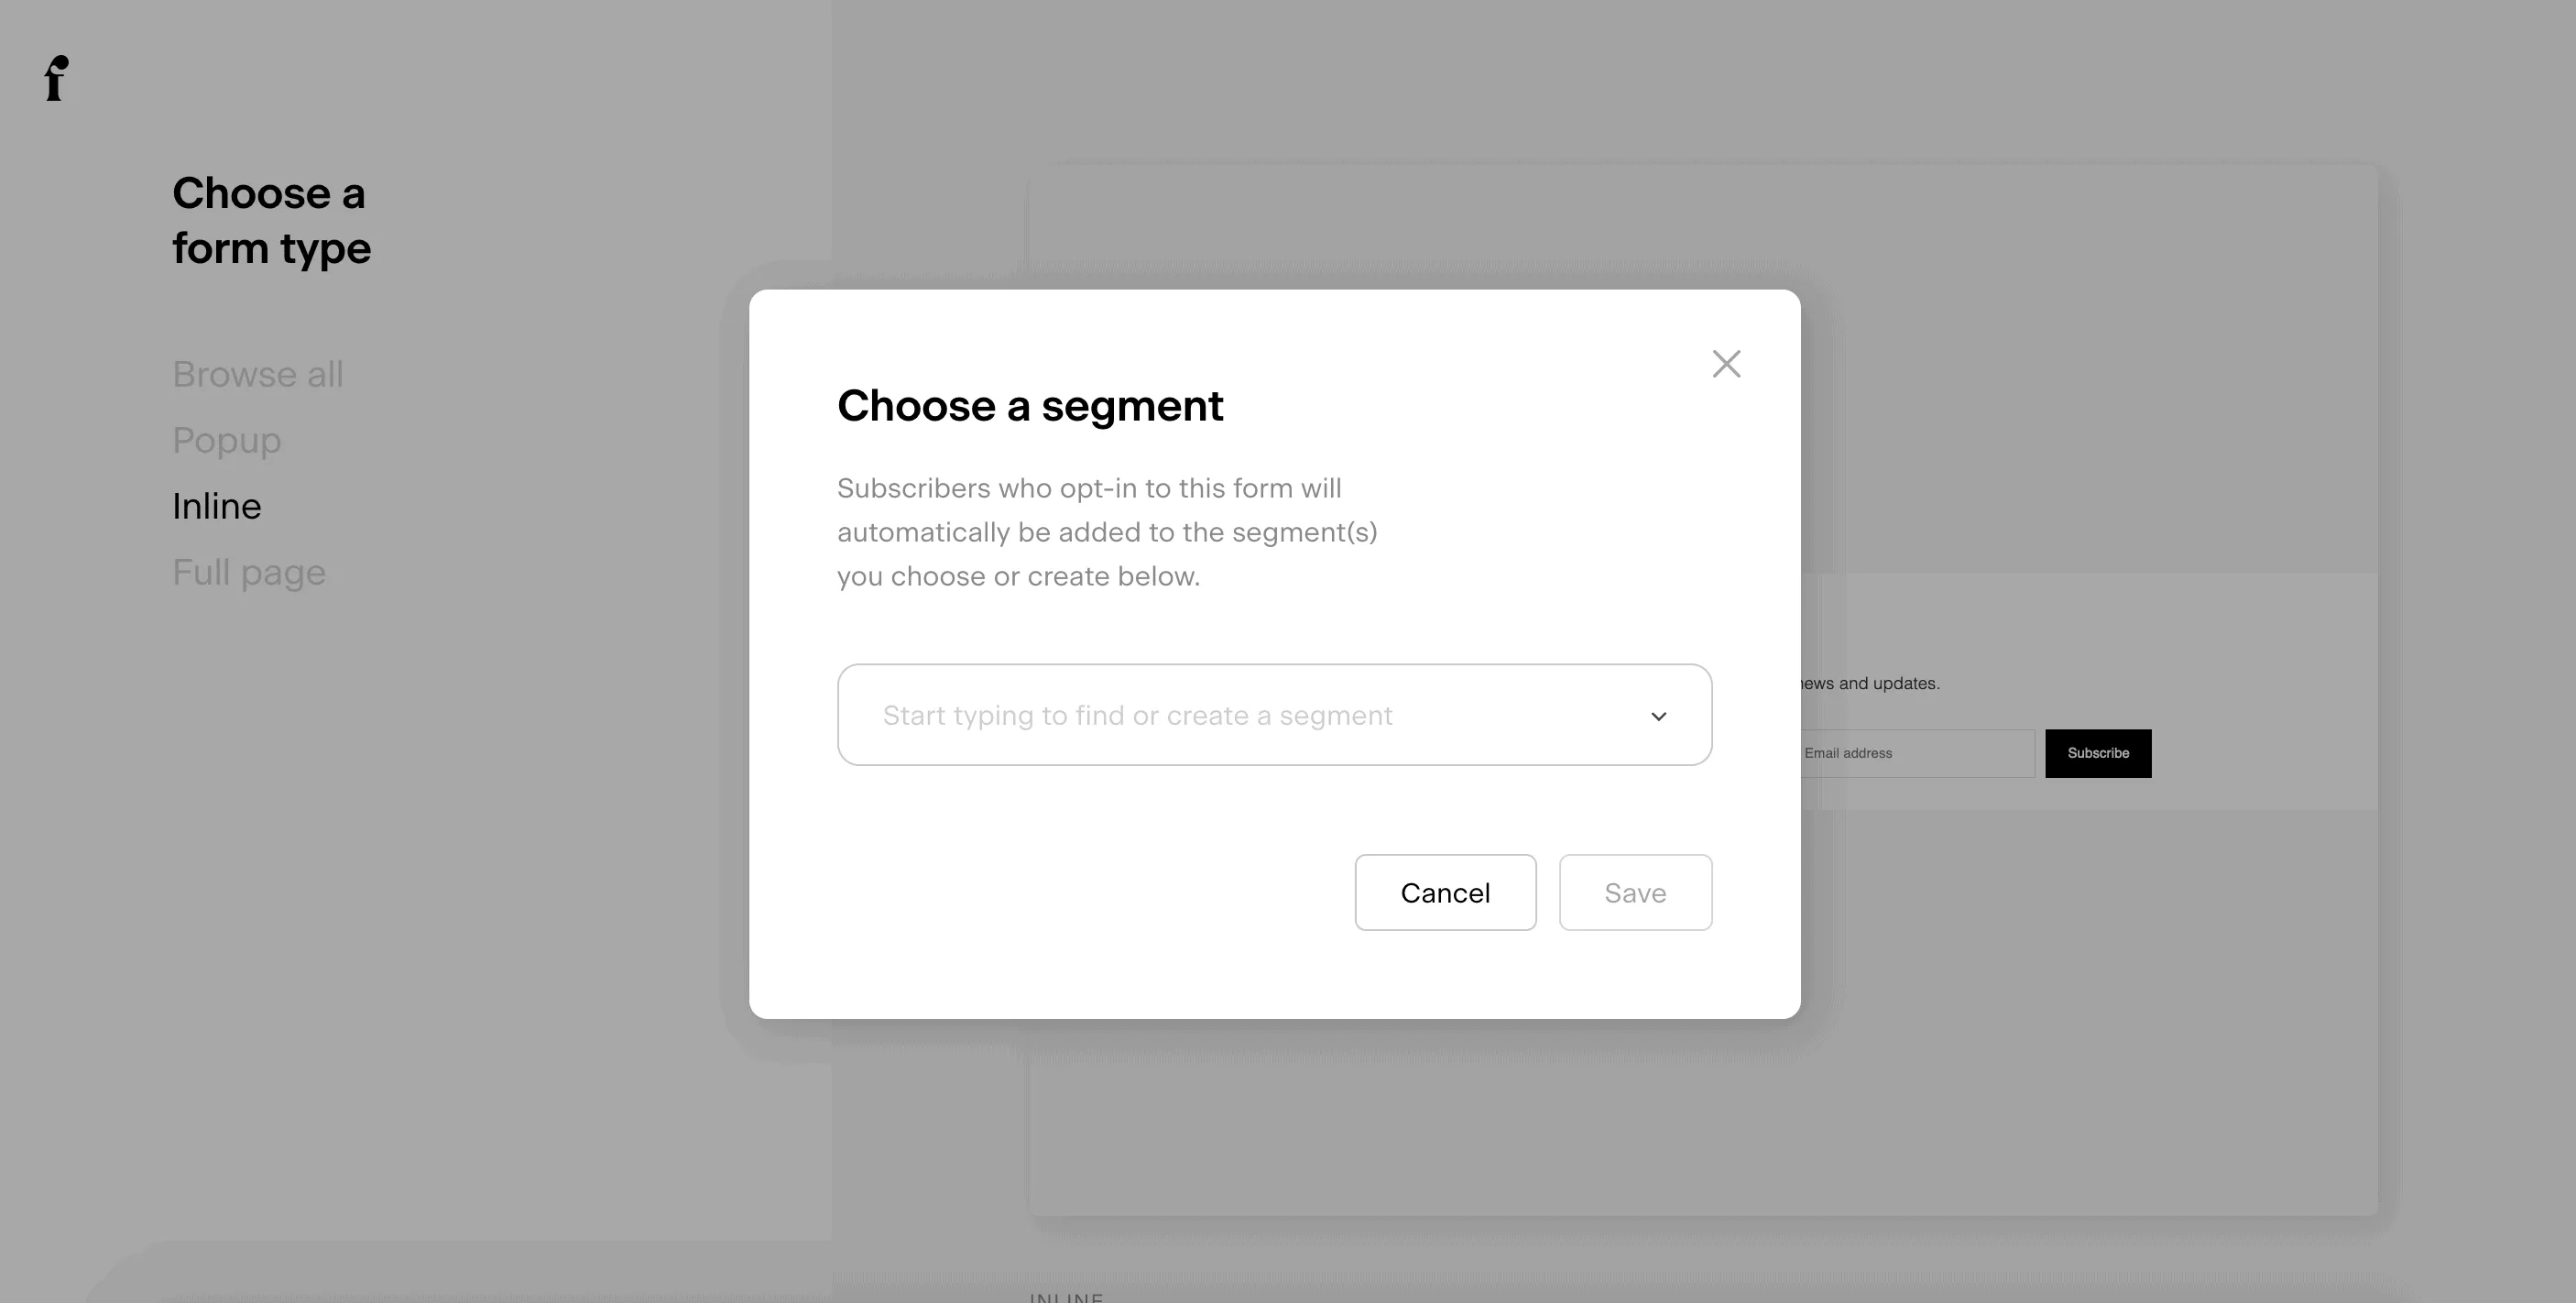
Next, you’ll have the option to choose what segment opt-in subscribers are added to.
3. Redirect to a Thank You Page URL
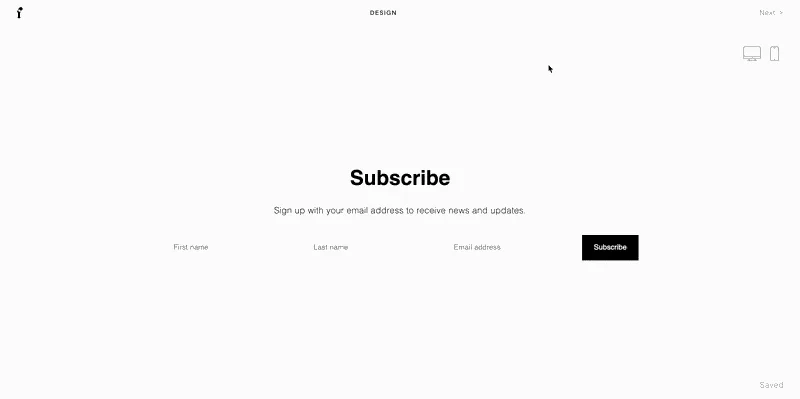
There’s no need to customize the design for this form, since you’ll do the designing inside AccessAlly. So you can click through your settings and decide whether you want to be notified when users sign up and if you want to enable a double opt in.
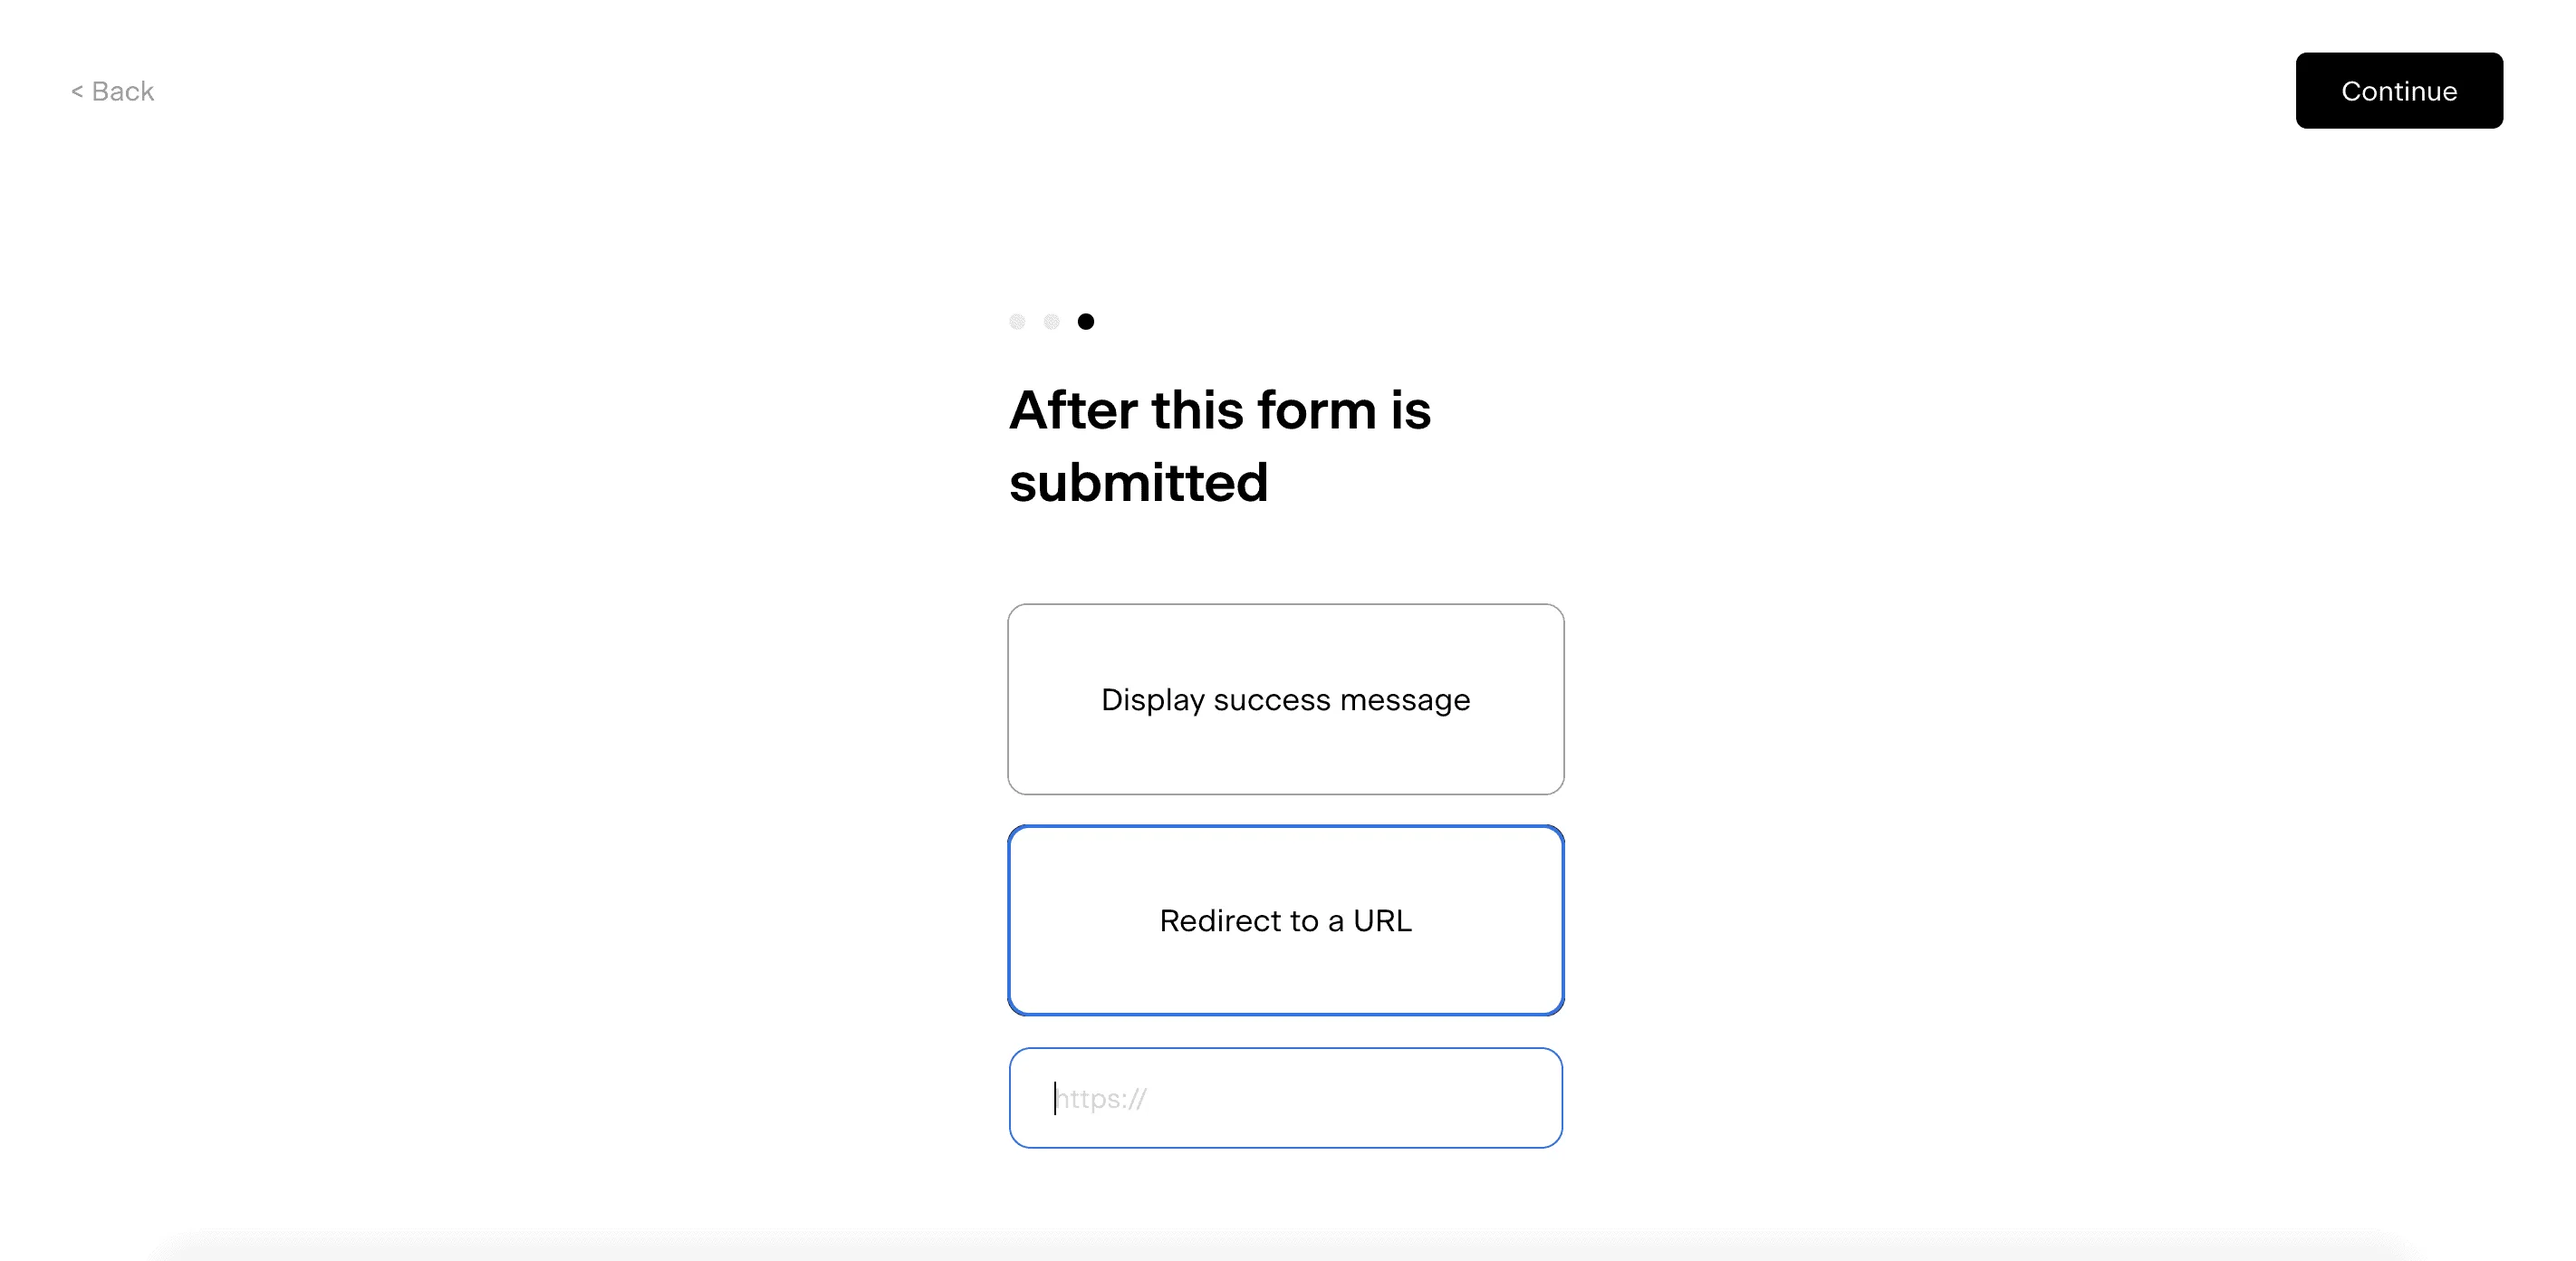
It is important to select the redirect to a URL option when a user submits a form.
4. Obtain HTML Code
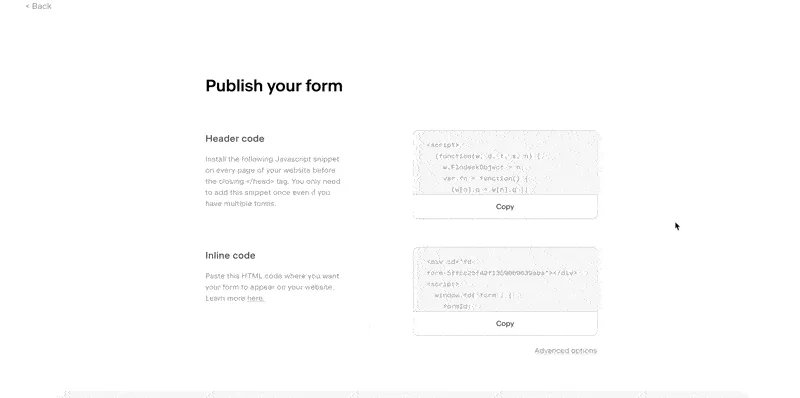
When you get to the Publish Your Form screen, click on the Advanced Options link.
This will let you select an option called Get raw HTML code. (Make sure to click on the boxes to disable Javascript and CSS).
5. Paste the Code into the Popup
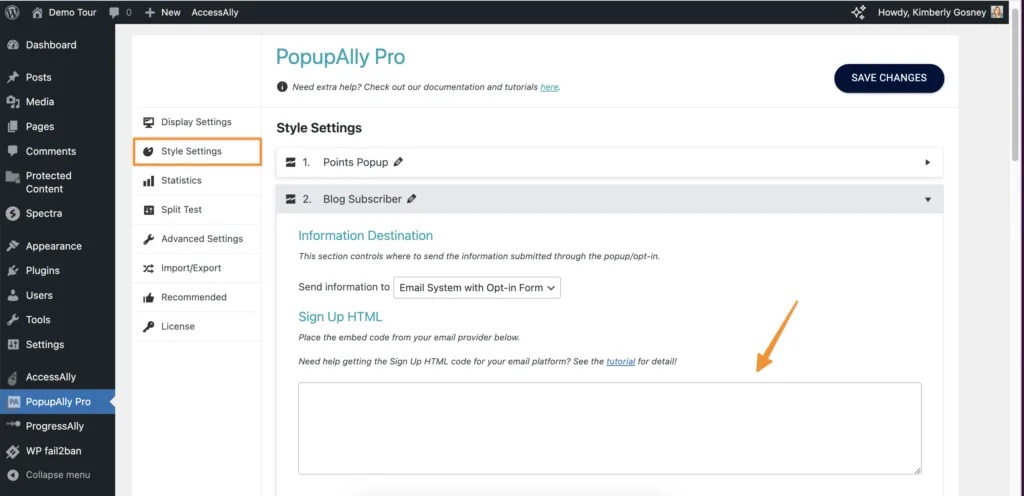
Go to PopupAlly > Style Settings, open your desired popup. In “Send information to” dropdown select Email System with Opt-in Form.
Paste your HTML code in the “Sign Up HTML” section.
6. Save Your Changes
After saving your changes, your popup is now connected to your Flowdesk opt-in form.
7. Design Your Popup
If you need to design what your popup looks like, see this article.