With PopupAlly Pro, you can create opt-in forms that are embedded on page. This video tutorial shows you how to create the opt-in itself.
Next, you’ll want to embed the form on a page. You can do this with two methods: a shortcode, or a widget.
Tutorial 1: Embedded Opt-In With A Shortcode
This is a super flexible way to embed your opt-ins inside your website content, and can be used almost anywhere on your website.
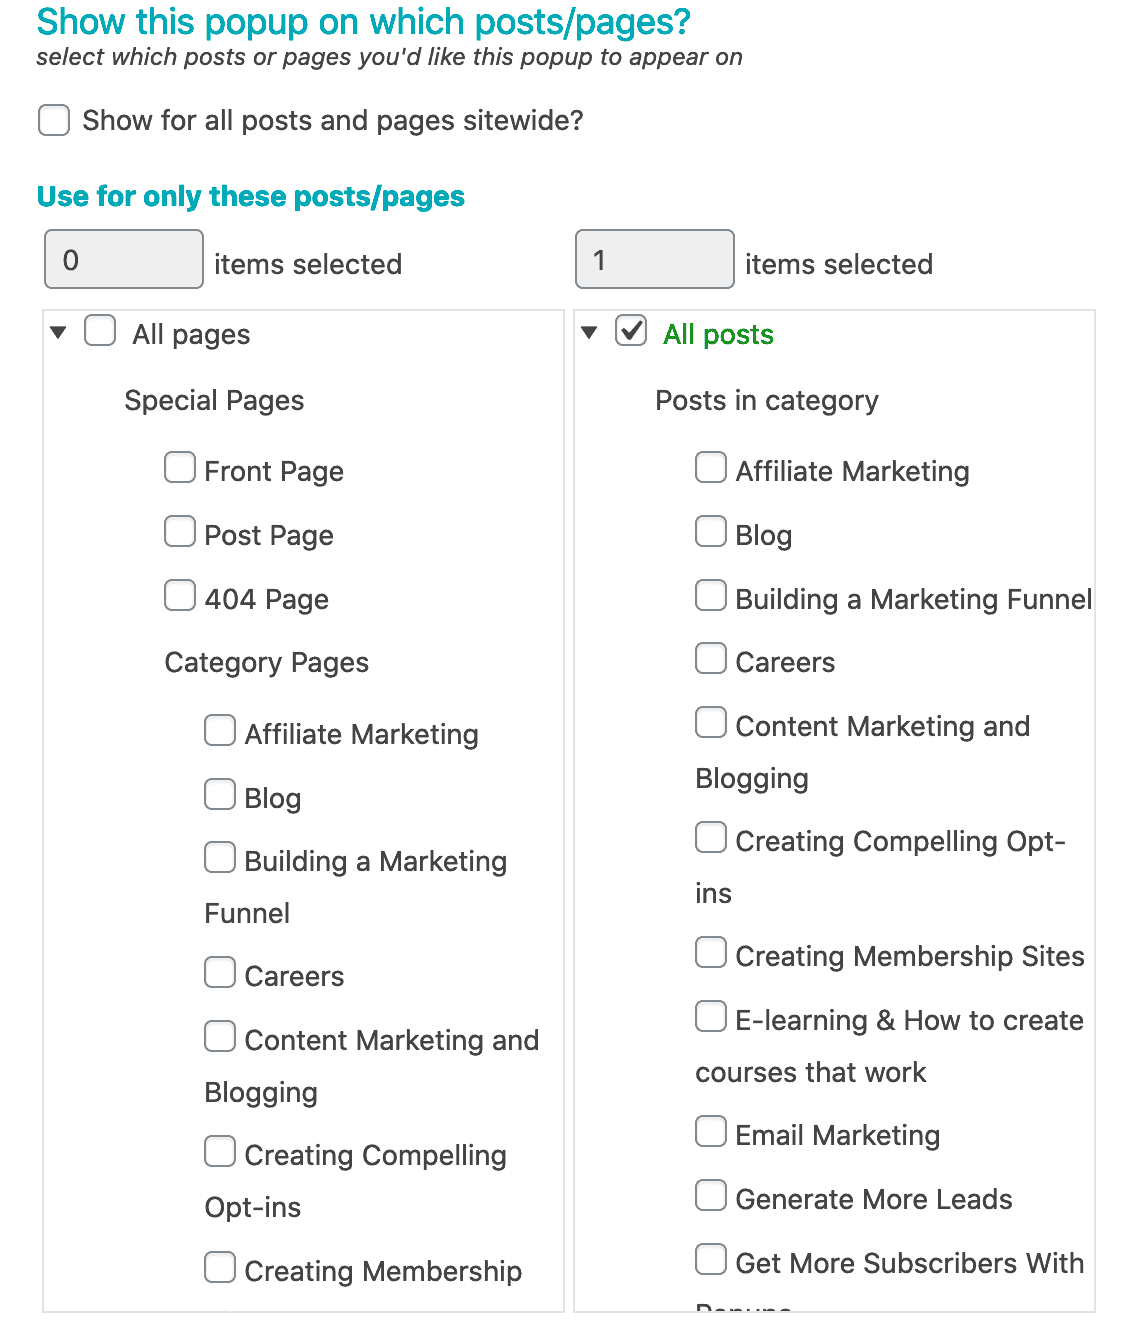
Once you’ve decided where you will be embedding this opt-in, you will want to specify the pages to “load the opt-in” on. In this screenshot we’re including the embedded opt-in on all blog posts, so we’ve selected those.

If you’re only using this opt-in on one page, you can enable it just for that page. This tells your website to load the code only on the pages that will be using it.
Tutorial 2: Embedded Opt-In With A Widget
If you want to embed your opt-ins in widget areas (sidebars, footers, etc.), then this is a great tutorial to guide you through the process.