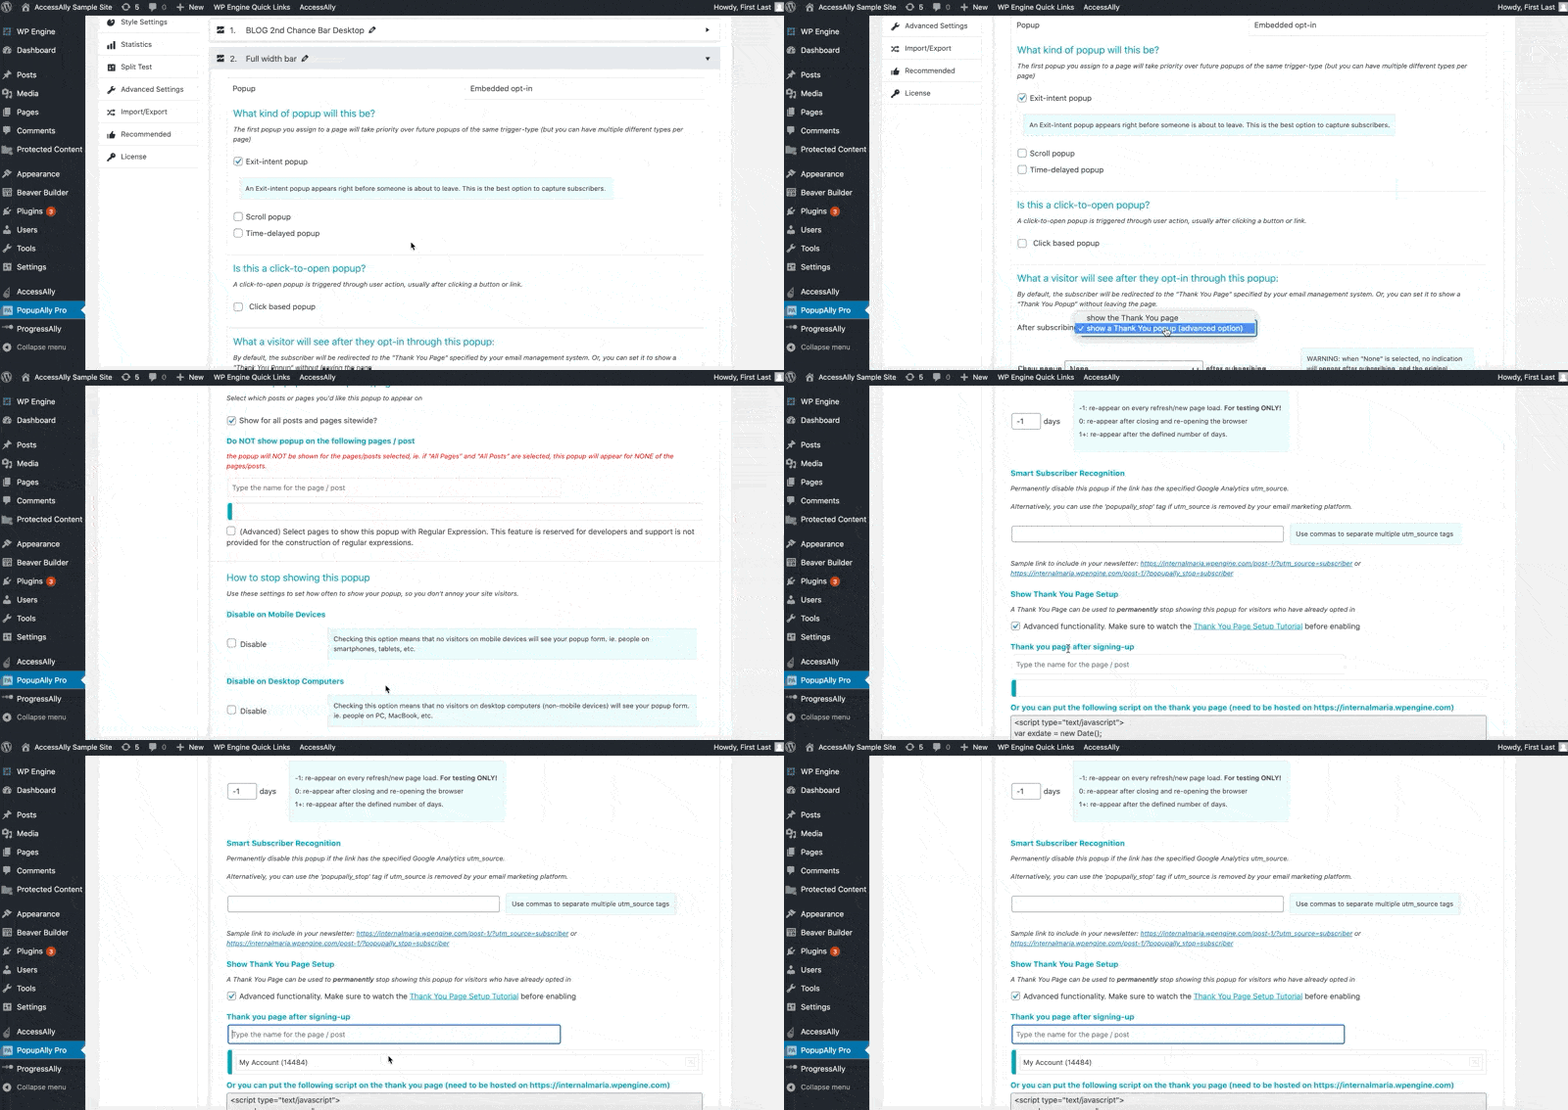
With PopupAlly, you can choose to redirect new subscribers to a thank you page after they submit an opt-in form.
What is a Thank-You page?
The Thank You Page is a special page that a subscriber gets sent to immediately after signing up for your newsletter.
Unlike a normal website page, you don’t want to send any traffic to your Thank You page unless they’ve already opted in.
Because the Thank You page is only shown to subscribers, it can also be used as an indicator for PopupAlly to never show the popup to these subscribers again.
1. Create a WordPress page
You can create a new page by going to “+ New” and selecting “Page.”

The content is up to you. Here are some suggestions:
- Appreciation for signing up
- What the subscriber can expect in the newsletter
- How often will the newsletter be sent
Mark down the Permalink for the page, as we will use it in Step 2.
2. Link to the Thank You page
Here is how to configure the Thank You Page for some popular platforms:
- MailChimp
- InfusionSoft
- MadMimi
- AWeber
- GetResponse
- ConvertKit
- Ontraport
- Active Campaign
- Simplero
- Drip
- MailerLite
Configure the Thank You Page in PopupAlly
Now that we have set up the Thank You page in our email list provider, we can let PopupAlly know which page is the Thank You page for the popup.
Go to Display Settings, and make sure the dropdown is set to “show a thank you page” in the What a visitor will see after they opt-in through this popup section.
Then, scroll down and check the box Show Thank You Page Setup in the ‘How to stop showing this popup’ section. Start typing the name of the Thank You page you created in step 1 and select it.
